The bathroom is highly engaged with water every day. Hence its wetness and dampness can spread all over the floor, slab, walls, etc. So you should waterproof the area properly. Within 07 steps, you can waterproof it easily. So let’s see how to waterproof a bathroom easily step by step,
I can provide these successful steps to the best solution for your burning problem. Follow these steps in detail with the below tools.
Step 01 – Find Suitable Tools and Instruments
Tools
- Brush or broom
- Scraper
- Paintbrush
- Paint roller
- Roller tray
- Caulking Gun
- Material (waterproof liquid)
- Primer
- Tape & silicone
- Waterproofing Membrane
Step 02: Measure and Sketch the Area
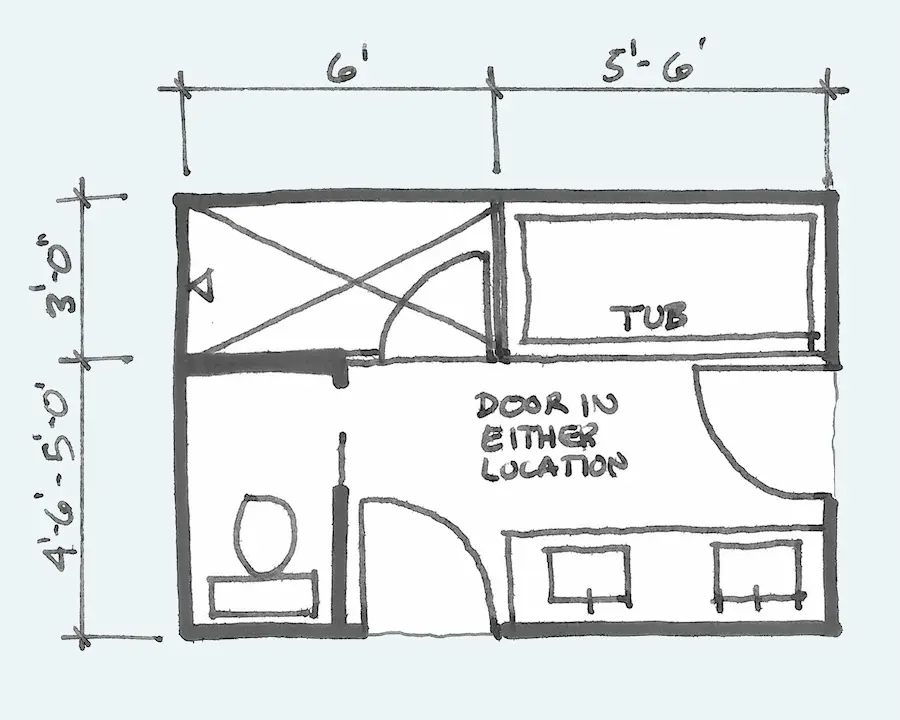
First of all, you need to plan the whole work by measuring the area. You had better take the area and then check the available area by considering the bathtub, commode, washing basin, etc. If the area is insufficient, you can expand the bathroom as you wish before you build.
When you do this, don’t forget to have the dimension of the walls and any other edges in the working area. And also observe the environmental conditions and access to the area.
It is easy if you have a sketch with real dimensions. So any time, you do not need to do double work.
Step 03: Select the Waterproofing Method
The waterproofing method depends on the surface condition, site condition, durability, physical conditions, etc. Considering all sections, you should select the product for your work process. You can select a suitable waterproofing method among 10 best building waterproofing methods.
Surface Condition
What is your surface made with? Is it concreted, wood, or any other material?
Selecting waterproofing depends on the surface condition. If you have a concrete surface, there are many products to be used.
But if it is wood, first of all, you should waterproof the wood layer and then waterproof the top surface for the bathroom. And also, if you have other surfaces like gypsum, you have to use a suitable method for waterproofing.
Site condition/Physical condition
What about the site condition?
Is it dry or wet? According to the site condition, you can use a waterproofing method that can be done under the site condition. If the site is wet, you can select any non-soluble crystalline formation method. And also, if your site is subjected to small vibrations, it is suitable to choose flexible cementitious applications and any membranes.
Durability
Durability is one of the major factors. Waterproofing durability must be more than the building’s lifetime. And also, many companies provide a 10-year warranty for the waterproofing process.
So you should know the durability of the waterproofing process.
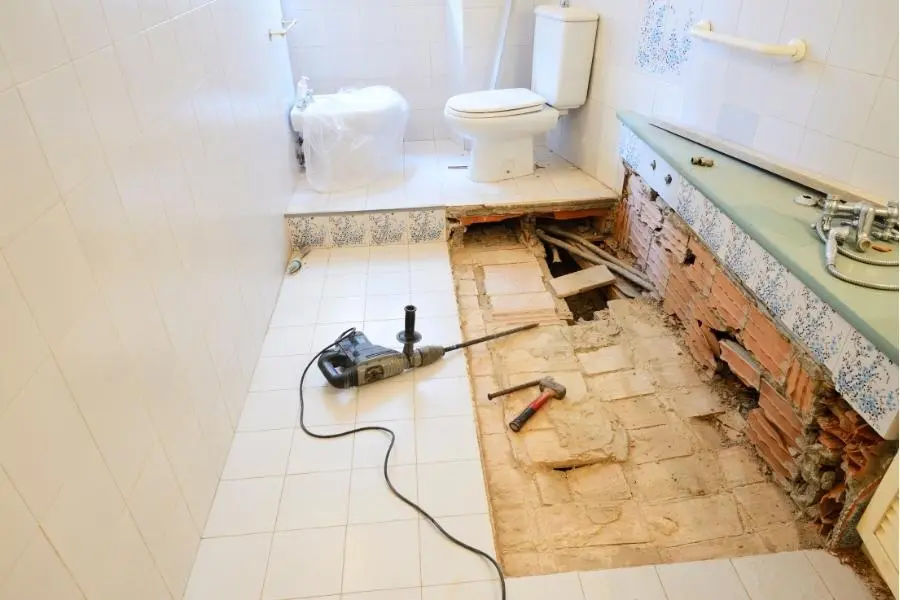
Step 04: Prepare the Surface
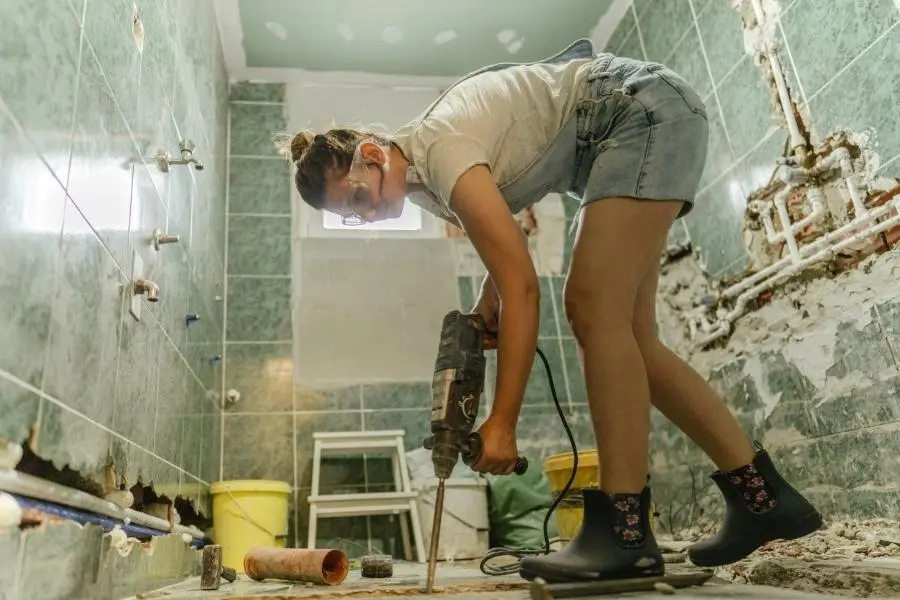
After selecting the product and method, you should prepare the surface, both floor, and walls, clean and neat without any dust if the concrete is cracked, use any silicon-based sealant to fill the cracks. And it is better if you can fully remove a small layer from the concrete slab until it seems the proper surface using a concrete cutter.
When you prepare the surface, check whether plumbings are laying on the floor. And also, make a proper way to lay the tubes on the floor with suitable adhesive compounds. Prepare the surface level as much as possible you can.
If the floor is wood, prepare the bed as level one. And then remove the nails that are not penetrating into the wood properly. These can be corrosion, and it will reduce the strength of the woods.
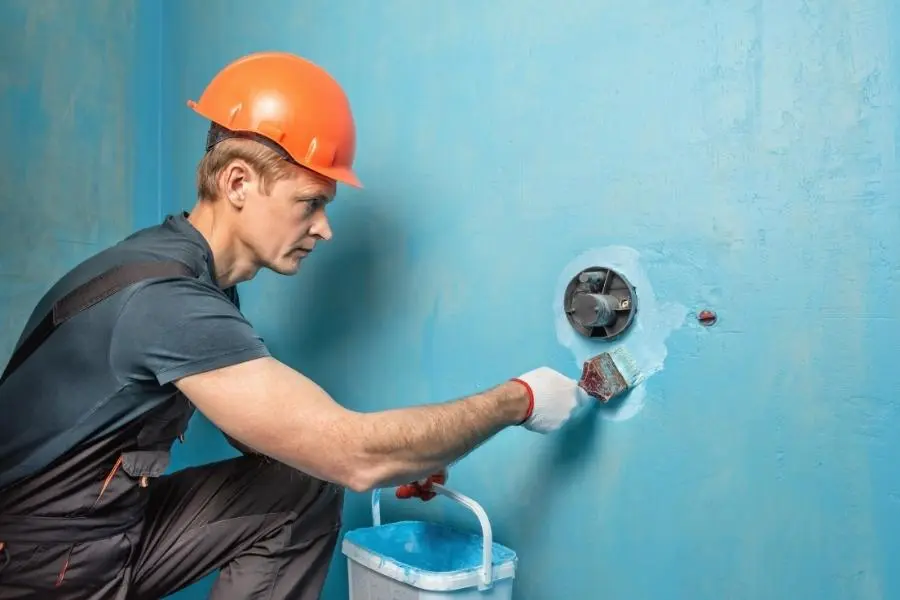
Step 05: Finish the Plumbing
After preparation the surface, plumbing should be done. Sometimes walls may need to be cut and drilled for the plumbing. And also, duct preparing valves inlet-outlet preparing should be done if there is any hole relevant to pipes, it should be covered during the waterproofing process.
Step 06: Cover Corners and Edges
The most leaking places are corner edges and wall and slab-connected edges. This area is the most critical area in the waterproofing process. You should pay attention to this. The corners should be covered with fiber mesh 3” from the top sides and bottom.
In the edges, it should cover the 3” in-wall as well as the floor. The most important thing is when covering the wall and floor connection should be fillet filling. Else there is a probability of leaking the water.
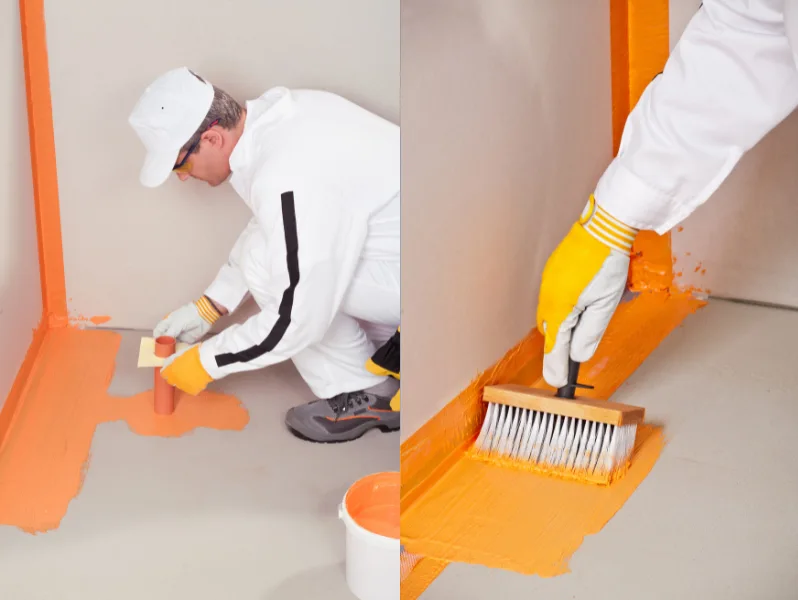
Step 07: Apply the Waterproofing
Application for Concrete Slab and Brick Walls
When the waterproofing is done no need to cover all the walls. Normally mostly water is used in the tap area, and shower area. Hence it is better to pay more attention to that. In the shower, a mounted wall should be 8’ in height waterproofing is needed, and when it goes down, a 2’6” conical shape should be maintained. The reason is water is out from the shower in a conical shape, and it is enough to cover the waterproofing of that area.
And also you should waterproof the opposite wall where the water can be thrown on the wall. Sometimes sidewall also needs waterproofing due to the shower placing.
But if there is only a bathtub, it is enough to waterproof the 2’ height of the wall from the bathtub top.
If the floor and wall are made with different materials like concrete and wood, use silicone for edge and connection bonding.
You can read more detail about How to waterproof bathroom walls here.
Application for Concrete Floor and Wood Wall
This is a totally different material. Those are not bonded well. Therefore we have to use different types of bonding agents to bond the walls and floor. Here, first of all, we need to prepare the floor. The floor should be clean and without dustings. And then need to clean the walls; for the wood walls or gypsum walls, it is needed to be fully fixed without moving here and there.
We can use sheet membranes for the waterproofing method. You can use PVC sheets and bitumen sheets for the waterproofing methods. But better pay your attention to durability and workability.
You can apply the bonding agent with waterproofing. For that, apply the primer, which will make a proper bonding with the waterproof agent to the surface. Be sure the surface is not wet. You should cover the edges and corners properly. These are the most leaking places in the waterproofing. Hence apply the fiber mesh and apply the second coat.
Rember you should apply the coating perpendicular. To keep the uniform waterproofing area.
Step 08: Protect the Waterproofing
After finishing, the waterproofing method uses the protection coat for the waterproofing layer. So it will gain additional security to the surface.
After you have done the process, waterproofing can be failed due to these 17 reasons.
Failure Tasks
After waterproofing is done, the surface can be damaged, and the waterproofing can be failed due to the below task.
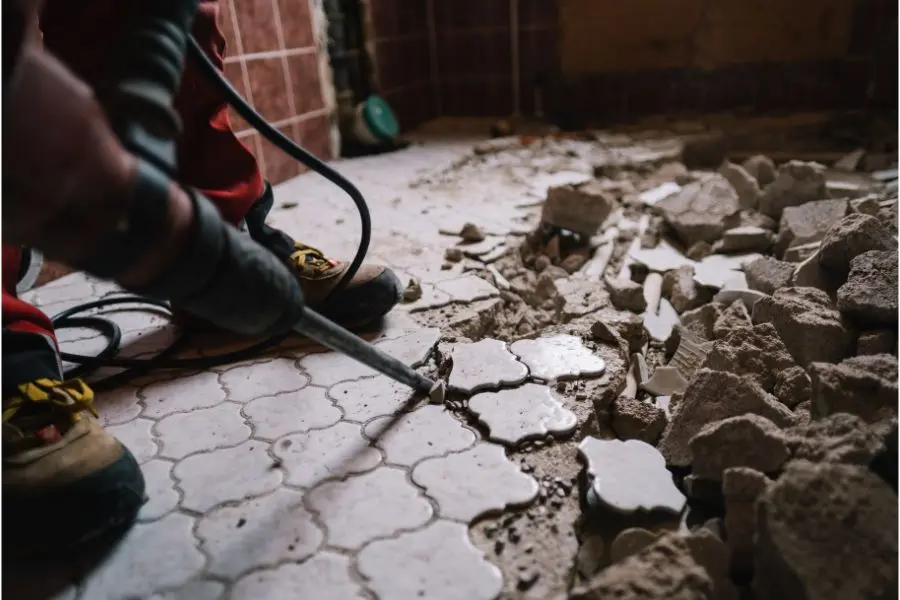
Tiling
After waterproofing is done, the surface can be damaged, and the waterproofing can be failed. When you are tiling the area, you should protect the waterproofing area.
Sometimes you will need to scraper the surface of the waterproof. Don’t do that. It will highly damage the waterproofing surface, and also sometimes, it is needed to drive. This is also don’t do. It will drill the waterproofing surface too.
Settlement
Do not do any movement after it has been done. And also, you will not receive any settlement warranty for the waterproofing. So if you have a concrete floor and wood wall, protect it with movements.
Options for the Waterproofing
For the luxury bathroom, you can use more material except waterproofing. Those are highly water resistant and water will remove quickly from their surface. Here you can use ceramic, porcelain, stones, vinyl, and waterproof hardwood.
These do not only add the aesthetic but with easy cleaning and quick water removal. You must use a good bonding agent for the tile connecting. It should be a waterproof compound.
Read More About